If you learned React Native from a tutorial made a few years ago, a lot of what you learned is now out of date. The old bridge is gone, Expo is the default way to start, and navigation works through files instead of long config objects.
I have been building with React Native and the MERN stack since 2017, and I teach developers at SMIT and on my YouTube channel, Code Aur Bilal. The same questions come up again and again from people starting their first mobile app. This post is the setup I recommend today, with the mistakes I see most often and how to avoid them.
What Changed in React Native (and Why Old Tutorials Confuse People)
Three changes matter most if you are starting now.
- The New Architecture is the only architecture. Since React Native 0.82, you can no longer switch back to the old bridge-based architecture. Later releases have been removing the legacy code step by step. If a tutorial tells you to set
newArchEnabled=false, skip that part. - Hermes V1 is the default JavaScript engine. This became the default in React Native 0.84. You don't need to configure anything for it.
- Expo is the recommended starting point. The React Native docs point new projects to a framework, and Expo is the framework they recommend.
At the time of writing (late September 2026), the stable release is Expo SDK 57 with React Native 0.86 and React 19.2. SDK 58 is in beta and targets React Native 0.88. SDK 57 needs Node.js 22.13 or newer, so check node -v before you start. Versions move quickly, but the steps below stay the same.
Step 1: Create the Project
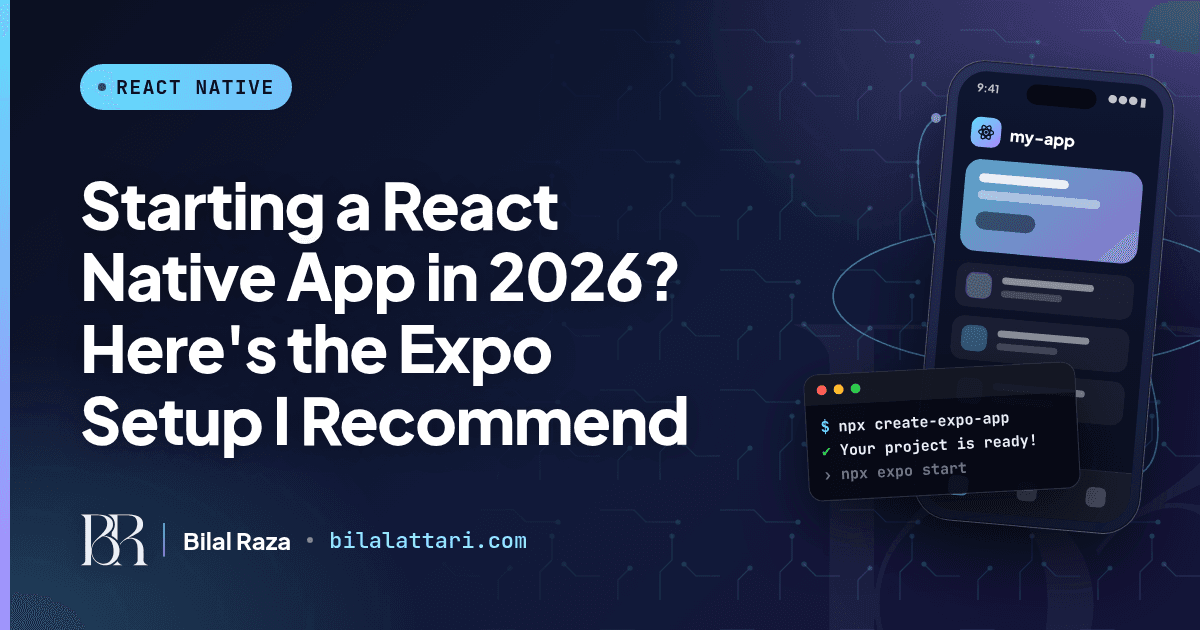
npx create-expo-app@latest my-app
cd my-app
npx expo start
Scan the QR code with your phone or press a for an Android emulator or i for the iOS simulator. If your phone and laptop are on different networks, which happens a lot on office or hostel Wi-Fi, try npx expo start --tunnel. It is slower, but it works.
Step 2: Understand the Folder Structure
The default project uses Expo Router, which gives you file-based routing. Every file inside src/app becomes a screen. If you have used Next.js, this will feel familiar.
src/app/
  _layout.tsx      // wraps every screen (stack, tabs, providers)
  index.tsx        // the "/" route
  course/[id].tsx  // a dynamic route like "/course/react"
The template comes with example tabs. When I start a real app, I clear the examples and begin with a simple stack.
A simple stack layout
// src/app/_layout.tsx
import { Stack } from 'expo-router';

export default function RootLayout() {
  return (
    <Stack>
      <Stack.Screen name="index" options={{ title: 'Courses' }} />
      <Stack.Screen name="course/[id]" options={{ title: 'Course' }} />
    </Stack>
  );
}
Linking to a dynamic screen
// src/app/index.tsx
import { Link } from 'expo-router';
import { FlatList, Pressable, Text } from 'react-native';

const courses = [
  { id: 'react', title: 'React Basics' },
  { id: 'node', title: 'Node and Express' },
];

export default function Home() {
  return (
    <FlatList
      data={courses}
      keyExtractor={(item) => item.id}
      renderItem={({ item }) => (
        <Link href={{ pathname: '/course/[id]', params: { id: item.id } }} asChild>
          <Pressable style={{ padding: 16 }}>
            <Text>{item.title}</Text>
          </Pressable>
        </Link>
      )}
    />
  );
}
// src/app/course/[id].tsx
import { useLocalSearchParams } from 'expo-router';
import { Text, View } from 'react-native';

export default function CourseScreen() {
  const { id } = useLocalSearchParams<{ id: string }>();

  return (
    <View style={{ padding: 16 }}>
      <Text>Course: {id}</Text>
    </View>
  );
}
That is the whole navigation setup. No navigator objects to register by hand.
Step 3: Connect to Your Express API Without the Localhost Trap
This is the mistake I see most from MERN students moving to mobile. Their Express server runs on localhost:5000, the React web app talks to it fine, and then the mobile app fails with a network error.
The reason is simple: on your phone, localhost means the phone, not your laptop. Use your laptop's local network IP instead, and keep it in an environment variable.
# .env
EXPO_PUBLIC_API_URL=http://192.168.1.10:5000
// src/lib/api.ts
const API_URL = process.env.EXPO_PUBLIC_API_URL;

export async function getCourses() {
  const res = await fetch(`${API_URL}/api/courses`);
  if (!res.ok) {
    throw new Error(`Request failed with status ${res.status}`);
  }
  return res.json();
}
A few things to know:
- Variables that start with
EXPO_PUBLIC_are written into your app bundle. Anyone can read them, so never put secret keys there. Secrets belong on your server. - Read the variable as
process.env.EXPO_PUBLIC_API_URLdirectly. Destructuring it fromprocess.envwill not work. - Make sure your Express server listens on your network, not only on localhost, and that your firewall allows the port.
- For production, use an HTTPS URL.
Step 4: Expo Go vs Development Builds
Expo Go is the app you download from the store to run your project instantly. It is great for learning and quick experiments. But it only includes the native libraries Expo ships with it, and it supports one SDK version at a time.
As soon as you add a library with custom native code, or you plan to publish, switch to a development build. It is your own version of Expo Go, built for your app.
npx expo install expo-dev-client

# Build locally (needs Android Studio or Xcode)
npx expo run:android

# Or build in the cloud with EAS
npm install --global eas-cli
eas login
eas build --platform android --profile development
After the build is installed, npx expo start connects to it instead of Expo Go. You only need to rebuild when you add a native library, change app.json, or upgrade the SDK. Normal JavaScript changes still reload instantly.
| Expo Go | Development build | |
|---|---|---|
| What it is | The app you download from the store to run your project instantly | Your own version of Expo Go, built for your app |
| Native libraries | Only the ones Expo ships with it | Any library, including ones with custom native code |
| SDK support | One SDK version at a time | The SDK your project uses |
| Best for | Learning and quick experiments | Apps with custom native libraries, and anything you plan to publish |
| Rebuild needed | No build step | Only when you add a native library, change app.json, or upgrade the SDK |
Step 5: Install Libraries the Right Way
Use npx expo install instead of npm install for React Native libraries:
npx expo install react-native-reanimated expo-image
It picks versions that match your SDK, which saves you from a lot of confusing build errors. When something feels off, run:
npx expo-doctor@latest
Before adding any third-party library, check that it supports the New Architecture. The React Native Directory (reactnative.directory) shows this for each package. An unmaintained library is one of the fastest ways to get stuck on an old SDK.
Mistakes I See Most Often
- Following an old tutorial line by line. Check the date. Anything that talks about the bridge or turning off the New Architecture is out of date.
- Staying on Expo Go too long. Then a native library breaks the project a week before the deadline.
- Mixing
npm installandnpx expo install. Version mismatches show up as strange native errors. - Hardcoding API URLs. Use environment variables from day one so switching between local, staging, and production is one change.
- Putting secrets in the app. If it ships in the bundle, treat it as public.
- Skipping SDK upgrades. Each Expo SDK gets fixes for about a year. Upgrading one version at a time is far easier than jumping three.
A Quick Starter Checklist
- Node.js 22.13 or newer installed.
- Project created with
npx create-expo-app@latest. - Example screens removed, simple stack in
_layout.tsx. - API URL in
.envusingEXPO_PUBLIC_, with no secrets. - Development build set up before adding native libraries.
- Libraries installed with
npx expo installand checked for New Architecture support.
Wrapping up
That is the setup I would give anyone starting a React Native app today. It is simple, it follows how the framework works now, and it avoids most of the problems that slow new developers down.
If you are stuck on any of these steps, or you are planning a mobile app and want a second opinion, reach out. You can find me at bilalattari.com, email me at attari1235@gmail.com, or message me on LinkedIn.